
For years, I’ve been trying to come up with a way to post video of some of the gorgeous scenery and great roads that I encounter while touring. I think I finally have the answer and this post contains the first attempt at using the new solution.
First, a little history
The earliest on-board videos that weren’t professional racers on MotoGP or flat-track broadcasts were guys that had purchased a GoPro. The GoPro was a neat idea, not egregiously expensive, and there were lots of waterproof cases available for them.
GoPro trade-offs
The only downside was that you had to turn them on and off when you wanted to record something. This wasn’t so bad when the GoPro was mounted to your helmet and you could reach it, but a lot of riders complained that the buttons were too small to be touched reliably with gloves, especially on colder days when we tend to wear heavier gloves. Also, it was difficult to tell when you had turned the GoPro on and off, unless you had it mounted on your helmet’s chin bar and could actually see the status lights on the unit with your macro–distance peripheral vision. I really hated the idea of wearing the camera, even though it would provide a rider’s view of the dash and scenery. I wanted the camera on the Bike.
The other problem that users often complained about was battery life. It seemed like every early video blogger had a horror story about the time they caught the most excellent spectacle while riding only to find that the GoPro’s battery had crapped out 30 seconds before, say, the volcano erupted. I saw that some users had wired a power supply for the GoPro to the bike, but that only worked when you weren’t using a weather-proof case. Now you’re back to stopping and putting the camera away whenever the rainclouds were threatening.
iPhone possibilities
One point of device conflict, especially common among BMS K1600 riders is that the bike comes with an integrated dash mount for a GPS unit.
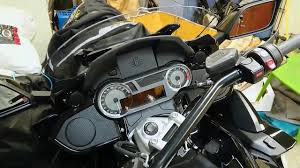
I’m all about convergence of the devices that I need to take on a trip, so I seriously loved the idea of using my iPhone as a GPS in place of the BMW Navigator (now at model 6), which commonly costs $900+.
Of course, when I started down this path, the iPhone was not yet truly weather resistant. If it were out in the open during a storm, it was likely that it was going need a few weeks in a rice casket to be resurrected.
Not ideal.
My answer to this problem was to wrap the iPhone (it was a 5S model back then) in a Hitcase. The Hitcase wasn’t only waterproof, even on shallow dives, but it added a wider-angle lens aligned over the normal iPhone camera lens to you’d get a wider view when capturing video from within the case.
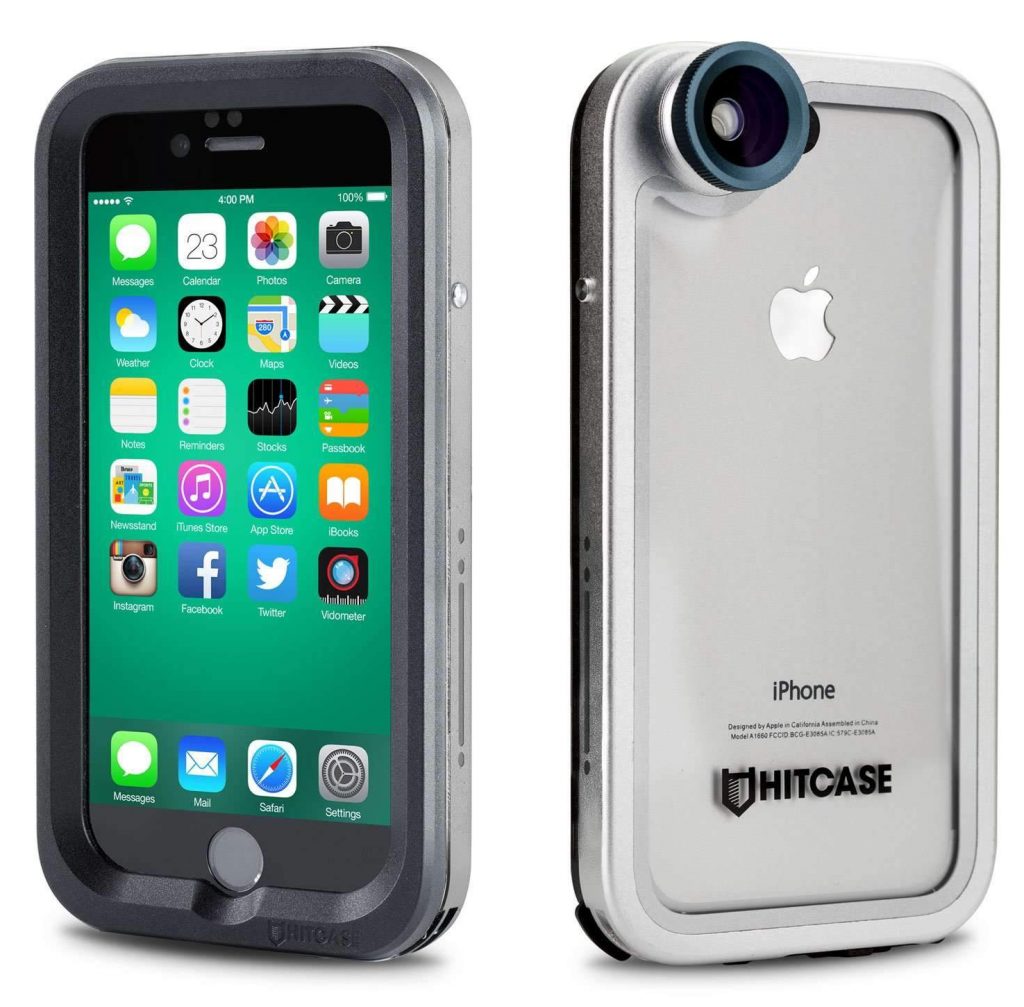
The only downside to this arrangement was that I did need to partially violate the waterproof nature of the Hitcase to allow power to get to the phone. The good news here was that the iPhone would be in the GPS nook in the dash, so the chance that water would get in that nook and find it’s way up the power cord to the phone contacts, was fairly remote.
The entire journey of using the iPhone as a phone, music, navigation device on a BMS K1600 needs to be addressed in another post entirely. Stay tuned…
So, with the iPhone properly ensconced in its GPS nook, there was really no way I was going to be able to converge my phone/music/nav source with a video source because the damn thing was hidden inside the dash with no view forward.
Arrgh!
When I graduated to an iPhone 7, which is water resistant (within reason), I eliminated the Hitcase from the equation and added an external RAM mount so I could extract the iPhone from the GPS nook when I knew I was about to ride through a pass or into a dazzling sunset. All I had to do was:
- Pull over.
- Extract the iPhone out of the GPS nook and replace its the nook cover.
- Dig into the glove box to obtain the RAM mount and insert the iPhone.
- Clamp the RAM Mount to the ball mount that I’d added to the left side of the dash.
- Get a video recording started.
- Ride the cool stretch of road.
- Perform steps 4 to 1 in reverse to get back to normal operation.
Yeah, like I was going to love repeating this process.
In truth, I did it once. Just once. Just before cresting Monarch Pass in Colorado, I gave this process a try… and never did it again. It was tedious and took me out of the in-the-moment joy of the ride. To make things worse, the resulting video was so shaky that it was near unwatchable and the audio was some distant motorcycle engine noise drowned out by the wind noise.
That was the end of the iPhone video experiments.
The Innovv K5
I had seen some pretty good videos from riders who had mounted the Innovv K2 front/rear 1080p cameras to their bikes. The actual video was a little heavy on compression, which meant some unfortunate artifacts during playback, but otherwise completely watchable. Being a dash cam instead of a independent camera mounted to the bike had its advantages:
- Permanent mount to the bike meant no batteries to run out.
- Video capture was always on; the unit overwrites the oldest videos if your storage gets full.
- You have front and rear views.
- You can mark specific parts of the trip with a remote control button, which stores the resulting video clip separately so you don’t have to look through the entire day’s of videos to find the sexy girl in the red Ferrari.
I was getting pretty enthusiastic about getting one of these when Innovv came out with the K5 dash cam. It was basically a K2 system, but with the following upgrades:
- 4k video capture for the front camera(!). Rear camera was still 1080P.
- The DVR module was incorporated into the front camera instead of being hidden under a panel somewhere on the bike.
- The DVR module supported 5k Wifi for faster video download.
- The GPS module supported 5k updates for a smoother map track on curvy roads (Can you say tail of The Dragon? I knew you could.)
Between the K5’s feature set and my increasing cabin fever (it was still winter in Michigan), I ponied up the dollars for an early unit and got to installing it.
I did capture a bunch of video of my typically exhaustively detailed install of the K5, but that, too, is a post for another day.
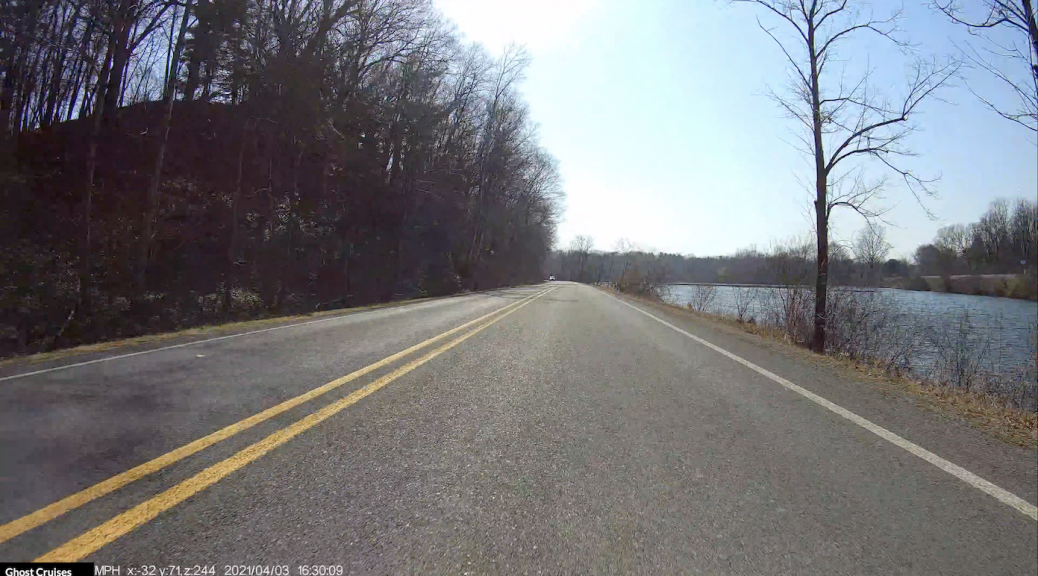
The day ride
I ended up taking my typical day ride out of Ann Arbor and around the countryside and small towns to the west. Overall, it’s about 85 miles and usually takes about two hours depending on photo stops, food stops, etc.
During the ride, I was using the remote control to protect specific videos, but I eventually decided to stop this practice in favor of downloading the entire ride and going through it on my desktop iMac.
It was a gorgeous day, the bike was performing well, and the PDM60 didn’t crap out on me, leaving me without heated clothing. About the only downside to the day’s ride was that my favorite Dairy Queen in Manchester, MI hasn’t opened for the season yet. Alas, I’m still trying to drop some of my pandemic-weight, so missing out on a Heath-bar Blizzard is probably not such a bad thing.
Extracting the video clips
Once back home, I got to work downloading the video clips and assembling them. I’d already done some test downloads over the 5K wifi supported by the K5’s DVR unit, but I knew that downloading several 10s of gigabytes of data over wifi was going to test my patience. Consequently, I got out the tiny screwdriver for the cover of the storage compartment on the K5’s DVR and removed the micro SD card.
Upstairs at my computer, I had several options for transferring the SD-card data to my iMac.
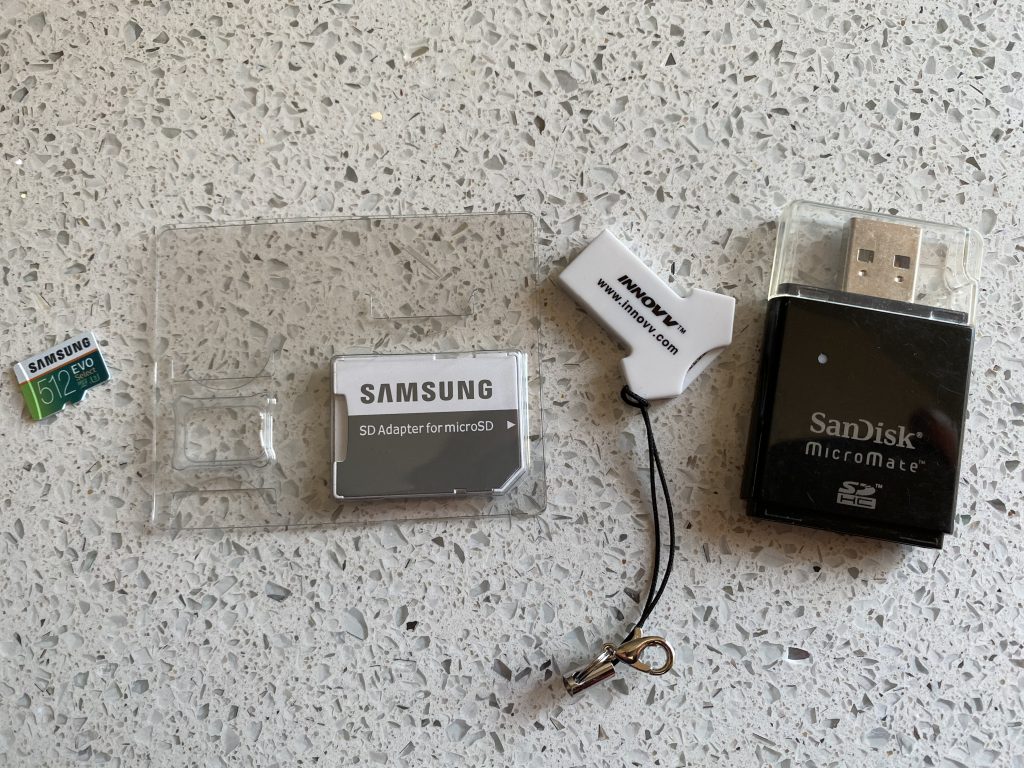
From left to right in the photo above:
- The micro SD card from the DVR.
- The SD adapter that came with the micro SD card.
- A micro SD to USB-A adapter that came with the Innovv K5.
- My SD to USB-A adapter that I’ve been carrying since the 20th century.
My iMac comes with a dedicated SD card slot, so sliding the micro SD card into the card adapter and copying the ~38GB of videos to the iMac took about seven minutes. I tried the copy again from the two USB-A adapters and they were both estimated to take between 25-32 minutes for the same copy. I guess I need a USB 3.0 SD card adapter. (This one could work.)
Once the video clips were in iMovie, it was relatively simple to:
- Assemble the clips.
- Time-compress (speed up playback) the ones that weren’t very exciting.
- Add a logo to the corner.
- Add titles, a summary, and captions for some of the on-the-ride activity.
The result is a 32 minute video, which is (gasp) 9.5GB in 4k. But it does capture all of a nearly 2-hour ride. In practice, I would never assemble this much video into a single viewable unit, but it was a good proof-of-concept to see if I could host something this large, in 4k quality. If I were on the road, I’d be marking the interesting passages of the day with the remote, downloading just those videos, adding some simple titling, and uploading them.
The video
Yes, I know it’s tooooo long, but it does prove the process is viable.
Look for judicious use of the video tag on my blog posts in the future.